Oil painting has been a beloved medium for centuries, known for its rich textures and deep colors. This art form allows artists to create stunning works with unmatched vibrancy and detail. Mastering oil painting techniques is essential for beginners to fully enjoy and express their creativity with this medium.
In this article, we'll explore the world of oil painting, covering everything from its history and advantages to practical tips and common mistakes.
Whether you're a complete beginner or looking to refine your skills, this guide will provide you with valuable insights to enhance your oil painting journey.
Let's dive in and uncover the essentials of creating stunning oil paintings!
Understanding the Basics of Oil Painting
To understand the basics of oil painting, it's important to know its history.
Great artists like Leonardo da Vinci and Rembrandt have skillfully used this ancient art form, which began in the early Renaissance. Their enduring works prove how well this medium can express bright colors and complex details.
First, let's start with the basics. What are oil paints? What are some features?
Oil paints comprise tiny colored particles (pigments) mixed with oil, typically linseed oil. This unique combination gives oil paints their distinct characteristics:
Slow Drying Time:
- Unlike acrylic or watercolor paints that dry quickly, oils take their time to dry.
- This extended drying period can be both beneficial and challenging for artists. On one hand, artists have significant flexibility in adjustments.
Flexibility:
- The slow drying time allows artists to work on their paintings over extended periods, making adjustments and blending colors as needed.
- Artists can revisit sections of a painting without worrying about the paint setting too soon, enabling intricate details and subtle gradations.
Depth of Color:
- Oils have a richness and depth that can be achieved through multiple layers of glazing or thick applications.
- This layering technique enhances luminosity, giving artworks a three-dimensional look as light penetrates through the transparent glazes.
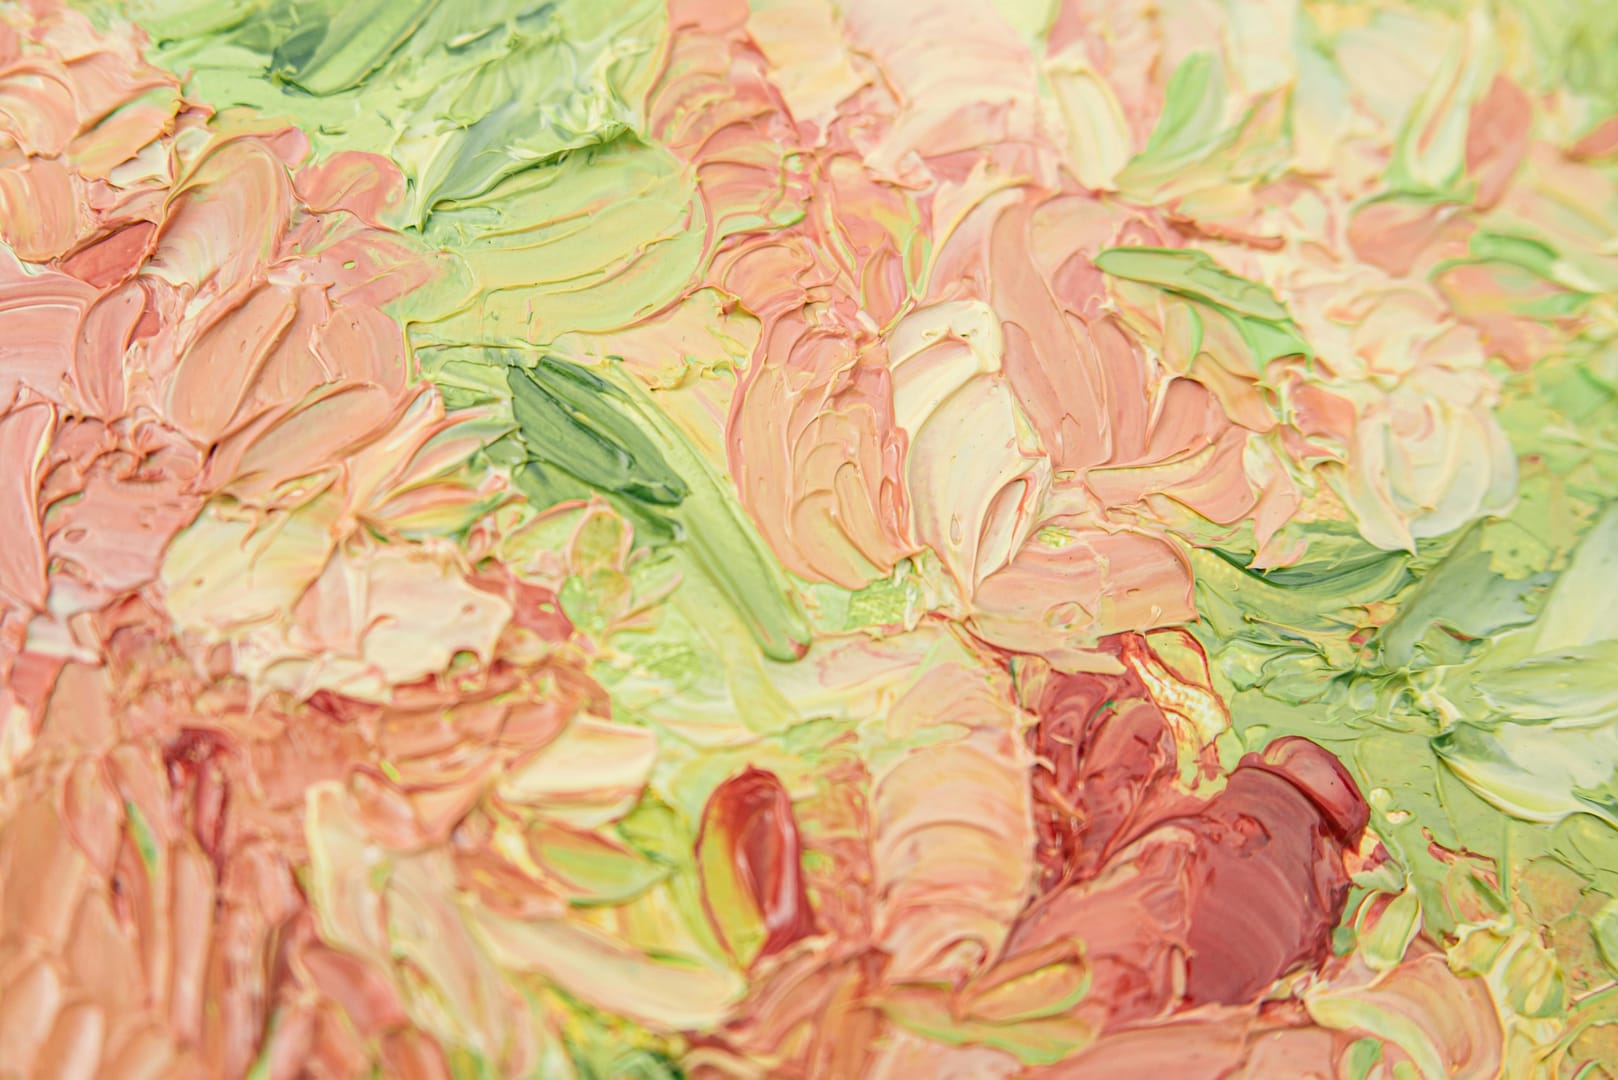
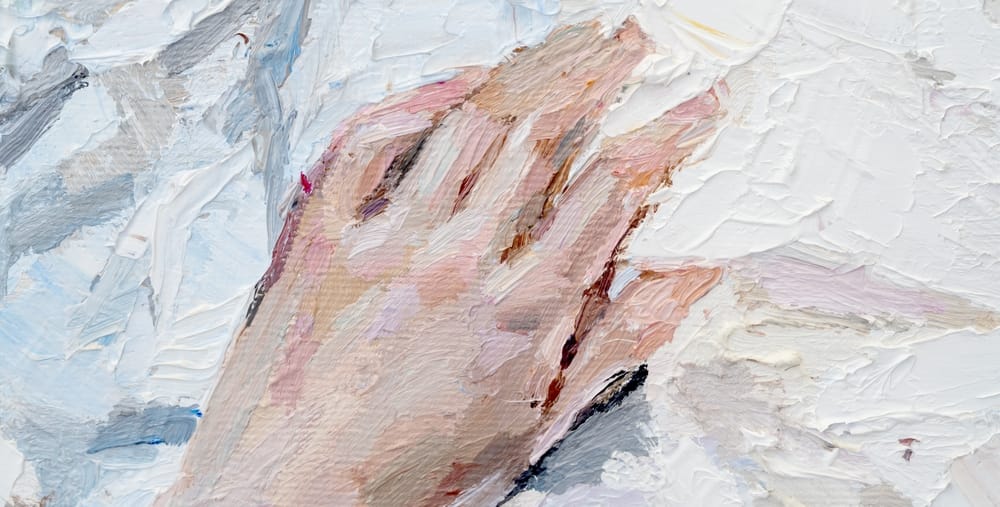
Texture Variety:
- You can manipulate this medium to create a wide range of textures. Artists can use tools like palette knives or brushes to achieve everything from smooth finishes to impasto techniques with thick paint applications.
Blendability:
- With oils, blending colors is seamless because of their long working time. Artists can merge hues directly on the canvas to create soft transitions or bold contrasts.
Chemical Stability:
- Oil paints have excellent chemical stability, meaning they maintain their color integrity over time without fading.
- By understanding these characteristics, artists can better harness the potential of oil paints in their creative endeavors, allowing for exploration and expression in ways that other mediums may not facilitate.
Even in contemporary art practices, oil paints remain a favorite among many artists.
Here's why:
- Versatility: Whether you're aiming for realistic portraits or abstract landscapes, oils offer a wide range of possibilities.
- Richness in Hues: The variety of pigments available in oils allows for vibrant and diverse color palettes.
- Seamless Blending: With extended working time, artists can blend colors directly on the canvas for smooth transitions.
The ability to manipulate paint with different tools—such as brushes, palette knives, or even fingers—further adds to the versatility of this medium. By experimenting with various techniques, artists can create unique textures and effects that enhance their artwork.
Understanding the basics of oil painting opens up a world of creative opportunities. Whether you choose to embrace traditional methods or explore innovative approaches, this timeless medium offers endless possibilities for self-expression.
Next, let's look at the pros and cons of oil paints.
Pros and Cons of Using Oil Paints
It's easy to see why many artists choose oil painting when exploring its advantages.
Pros of Oil Painting- Manipulability: Oil paints stay wet longer than other types of paint, such as acrylics or watercolors. This allows for an extended period to blend colors on the canvas, making it easier to achieve smooth transitions and subtle gradations.
- Color Depth: One major draw is the color depth. Oil paints offer a richness and variety in hues that can be difficult to match with other mediums. This quality is beneficial for creating lifelike depictions and intricate details.
- Layering Techniques: Layering in oil painting is essential but requires understanding the 'fat over lean' rule. This involves applying layers with increasing oil content (fat) over those with less oil (lean). Doing so ensures the paint dries properly and prevents cracking.
- Durability: When varnished correctly, oil paintings can last for centuries. The durability of oil paints makes them a preferred choice for artworks intended to stand the test of time.
"A well-executed oil painting, maintained properly, can outlast many lifetimes."
Cons of Oil Painting- Drying Time: The slow drying time can be both a blessing and a curse. While it allows for extended manipulation, it also means waiting longer between layers or before completing a piece. For artists seeking quick results, this can be frustrating.
- Toxicity: Traditional solvents used in oil painting, such as turpentine, pose health risks because of their toxicity. Ventilation is crucial when working with these materials. Fortunately, less toxic alternatives like odorless mineral spirits are available, though they may change the paint's behavior.
Understanding these factors can help you decide if oil painting is right for you or how best to approach your practice with this versatile medium.
In the next section, we'll explore some tips to help you get the best results with your oil painting.
Getting Started with Oil Painting: Tips for Beginners
Selecting the Right Canvas
Choosing the right canvas can set the tone for your painting experience. The canvas you select not only affects the final appearance of your artwork but also influences your painting technique and comfort level.
- These canvases come already stretched over a wooden frame, providing immediate usability.
- Ideal for beginners, they eliminate the need for stretching, allowing you to focus on painting right away.
- A pre-primed canvas has a layer of gesso applied, which is essential for oil painting.
- Gesso creates a barrier that helps paint adhere better and prevents oil from seeping into the fabric, ensuring longevity and vibrancy in your work.
- Look specifically for canvases labeled "triple primed."
- This indicates that three layers of gesso have been applied, providing an optimal surface that enhances paint application and reduces absorption.
- The most common material, known for its affordability and versatility.
- It offers a smooth surface, making it suitable for various techniques.
- A premium choice favored by many professional artists.
- Linen has a finer texture and excellent durability, providing a luxurious feel to your work.
-
Size: Larger canvases allow for expansive compositions but may require more space to work. Smaller canvases can be easier to manage and are great for practice pieces.
-
Texture: Canvases come in different textures (smooth, medium, rough). Your choice here will depend on your preferred painting style—smoother surfaces are ideal for fine details whereas textured surfaces can add depth and interest.
-
Weight: Heavier canvases provide better stability during painting but may be less portable than lighter options. By handpicking your canvas based on these factors, you can create an enjoyable and successful oil painting experience that aligns with your artistic goals.
Starting with a Limited Palette
Starting with a limited palette simplifies color mixing and helps you understand how colors interact. By using just three primary colors (red, blue, yellow) along with white, you can gain valuable insights into color theory and application.
-
Reduced Complexity: Fewer colors mean less confusion when mixing. You can focus on learning rather than getting lost in a multitude of shades.
-
Enhanced Creativity: Working within constraints often sparks innovation. The variety of hues you can create with a few colors will surprise you.
-
Improved Color Understanding: You'll learn how colors relate to each other, which is crucial for effective painting.
How to Mix Colors
This approach teaches you to create a wide range of hues without feeling overwhelmed by too many options.
-
Mixing Ultramarine Blue and Cadmium Yellow: This combination yields various shades of green, from vibrant lime to deep forest tones.
-
Combining Red and Yellow: This will provide you with oranges ranging from bright tangerine to rich burnt sienna.
-
Blending Blue and Red: You can achieve purples that vary from soft lavender to bold violet.
Discovering Combinations
The beauty lies in discovering these combinations on your own.
As you experiment, consider the following tips:
-
Take Notes: Document your mixes to track which combinations yield desirable results.
-
Use Small Tests: Create swatches on scrap paper or canvas to visualize your mixtures before applying them to your main piece.
-
Be Patient: Color mixing is an art in itself; embrace the learning curve and enjoy the process. By adopting this simplified approach, not only will you enhance your technical skills but also cultivate a deeper appreciation for the subtleties of color in your artwork.
Investing in Quality Tools
Quality tools make a significant difference in your painting experience and final artwork. Brushes come in various shapes and sizes, each serving different purposes:
- Round Brushes: Great for details and fine lines.
- Flat Brushes: Ideal for bold strokes and filling large areas.
- Filbert Brushes: Versatile for both detailing and broad strokes.
Palette knives are equally important. They’re excellent for mixing paint on your palette or applying thick layers directly onto the canvas. Stainless steel knives are durable and easy to clean.
Embarking on your oil painting journey is exciting. Armed with these beginner tips on starting with oil paints, you're well on your way to creating stunning works of art!
Techniques to Enhance Your Oil Painting Experience
Understanding MediumsWhen diving into oil painting, understanding the mediums you use can significantly impact your work. Different oils like linseed and poppy have unique effects on paint application.
Linseed Oil
This is the most commonly used medium in oil painting. It increases the fluidity and gloss of paints, making it easier to apply smooth layers. Here are some key features:
- Quick Drying: Linseed oil dries relatively quickly compared to other oils, allowing artists to work efficiently without long waiting periods between layers.
- Enhances Color: It can intensify the vibrancy of colors, giving your artwork a more dynamic appearance.
- Versatile Use: Suitable for many oil paints, linseed oil works well for both underpainting and final layers.
Artists often favor linseed oil because of its effectiveness and availability. However, it's essential to note that it can yellow over time, which might affect certain color palettes.
Poppy Oil
Known for its slower drying time and pale color, poppy oil is excellent for light colors and delicate details. Here are some advantages:
- Reduced Yellowing: Poppy oil yellows less over time than linseed oil, making it a good choice for paintings requiring longevity and maintaining their original hue.
- Ideal for Fine Work: Its slower drying time allows artists to blend colors on the canvas more easily, which is beneficial for creating soft transitions and intricate details.
- Light Tones: Particularly effective with whites and pastels, poppy oil enhances the luminosity of lighter shades.
Experimenting with these oils can help you understand how they alter the texture and drying times of your paints, enhancing your control over different painting techniques.
By mixing these oils with your paint, you can achieve various effects such as increased transparency or opacity, allowing for creative freedom in your artwork.
Practicing Layering TechniquesLayering is a fundamental technique in oil painting that can add depth and richness to your work. One essential rule to remember is "fat over lean."
Fat Over LeanThis principle means applying thicker, oilier (fat) layers over thinner (lean) ones. By doing so, you prevent cracking and ensure that each layer adheres properly as it dries.
Start your painting with lean layers by mixing paint with a solvent like turpentine or mineral spirits. As you progress, gradually add more oil to your mixtures. This method ensures that the lower layers dry faster than the upper ones, reducing the risk of cracking.
Practicing these techniques consistently will deepen your understanding of how different layers interact and improve the overall quality of your paintings.
With patience and practice, these oil painting techniques will significantly enhance your experience and outcomes.
Common Mistakes to Avoid in Oil Painting
Even experienced artists can make mistakes in oil painting. By knowing these mistakes and avoiding them, you can save time and avoid frustration.
- Overworking Paint Layers - One common mistake is overworking paint layers. It’s easy to get caught up blending colors, but there comes a point where continuing to blend can muddy your work.
- Tip:Step back from your painting often. This helps you see the bigger picture and decide if further blending is truly necessary.
- Ignoring Drying Times - Patience is essential when working with oil paints. Ignoring drying times can lead to unwanted smudging or cracking. Give each layer time to dry before applying the next.
- Tip:Plan your painting sessions around drying stages. Use this time productively by working on other sections or projects.
By understanding these mistakes in oil painting and how to avoid them, you’ll create more polished and lasting artworks. Keep these tips in mind as you continue your artistic journey!
Conclusion
Starting your journey into oil painting can be both exciting and difficult. It's important to approach this process with an open mind and a willingness to try new things. The key to achieving amazing results lies.
Here are a couple of things you can do to improve your oil painting skills:
- Experimentation: Try different techniques and mediums to discover what works best for you.
- Practice: Dedicate time regularly to paint and refine your skills.
With continuous learning and practice, you can master the art of oil painting. Remember to be patient, keep practicing, and allow your creativity to flow onto the canvas.
Happy painting!
Latest
More from the site
Marilyn
creativity
Creative Collage
Create a Collage to Experiment, Inspire and Imagine Here are 10 tips to create a collage to inspire your creativity: 1. Gather Diverse Materials: Collect a variety of materials like magazines, newspa
Read post
Marilyn
watercolor
Watercolor Wonders: Transform Your Drawing Skills with Paint
Watercolor painting is a versatile and expressive art form that combines the fluidity of water with vibrant pigments. This combination allows artists to create stunning visual effects, capturing light
Read post
Marilyn
watercolor
Watercolor Snippet
#watercolor
Read post